I haven’t posted a craft tutorial in quite awhile, so I guess I’m overdue. This one just sort of happened and was not at all planned. Those are the crafts I think I enjoy the most, not the ones that you have to rack your brain on, trying to dream up for a blog post.


I took it to my little studio and got out my can of free paint (from the recycling center) and painted the entire inside, leaving the rest unpainted.


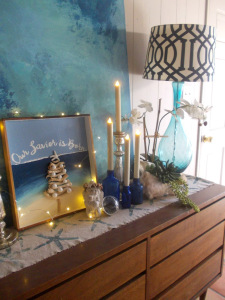
I decided to make it into a coastal Christmas sign of some sort. Most importantly, I also wanted it to reflect the true meaning of Christmas. It’s easy to find coastal style Christmas decor and Christian style Christmas decor, separately. Finding them combined is a whole other story.

I first decided which Christmas saying I wanted and then went into Picmonkey and printed it out.

There are a lot of different ways to transfer lettering, but I settled for this really simple method. I used an artist’s graphite pencil, although a regular pencil should do, and flipped the paper over and darkened the back of each letter.

I cut out each separate word so that I could place them where I wanted them. And I made sure there was room for everything before transferring. I secured them with painters tape as well as the inside frame. I traced over the letters using a ball point pen, pressing down firmly.

After removing the paper. I painted inside of each letter with masking fluid, to raise up the lettering. This isn’t typically what masking fluid is for at all. I usually use it to mask off areas of paper that I’m painting with water colors and then peel off and discard the dried masking fluid. For this craft, I left it on permanently.

After allowing the masking fluid to dry over night, I painted a simple beach scene. I used the paint samples from my wall mural, plus a turquoise-y color I had as well. I just blended it all with a large brush.

Once the paint was dry, I went over the lettering very carefully with a white liquid chalk marker.

I tried to capture the raised lettering in this picture, you can kinda see it.

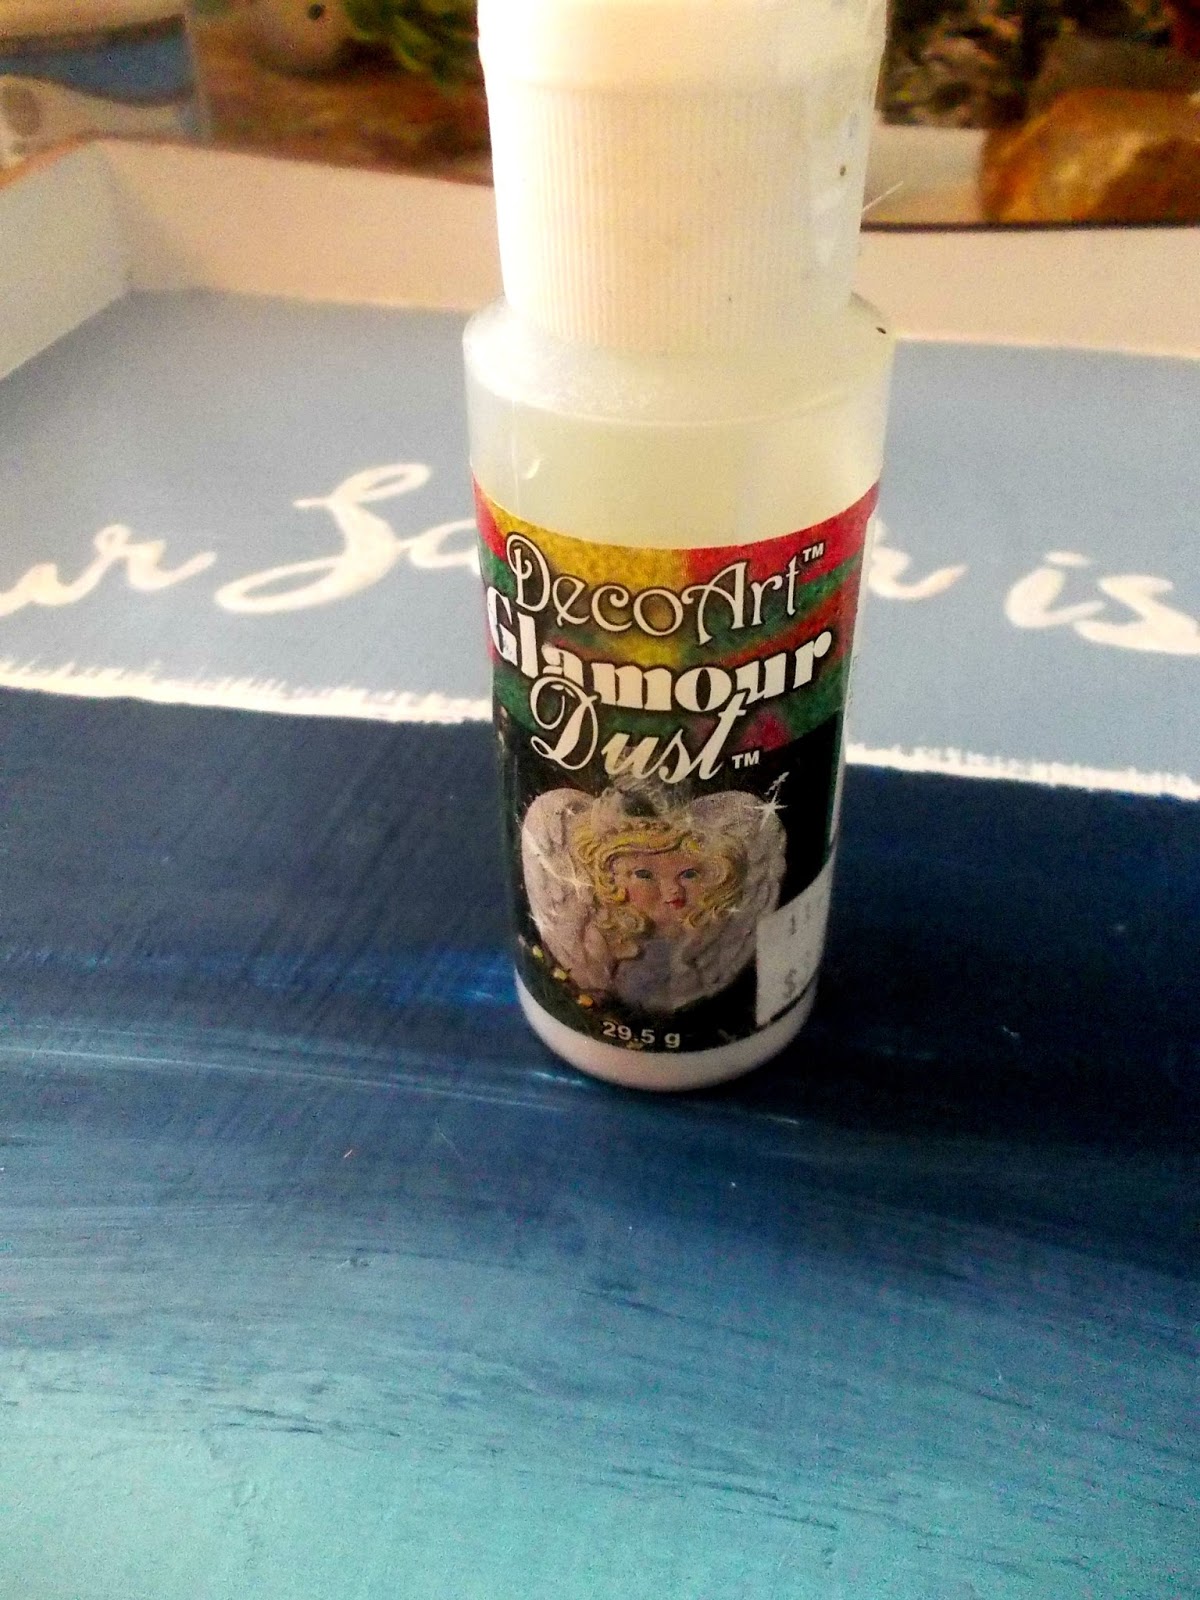
I was really happy about how it turned out and I sprinkled a little glamour dust over the wet lettering.


Then I hot glued on some tiny, sparkly styro-foam balls I had and was done.
Cost of this project? $0. Enjoyment? Priceless!


This Christmas ornament was a free party favor I received a few years ago at a Christmas dinner party. Such a simple idea to add a scripture and gold glitter inside a plastic ornament, I really love it.


Leave a comment